How To Grow Micro-greens

Grow micro-greens at home with this easy guide! These teeny leaves are packed with flavour, are rich in potassium, iron, zinc, magnesium and copper. Grow them at home with this Seed Pantry guide. 🤩

Home » Food Gardens
Micro-greens ready for harvest.

What are micro-greens?

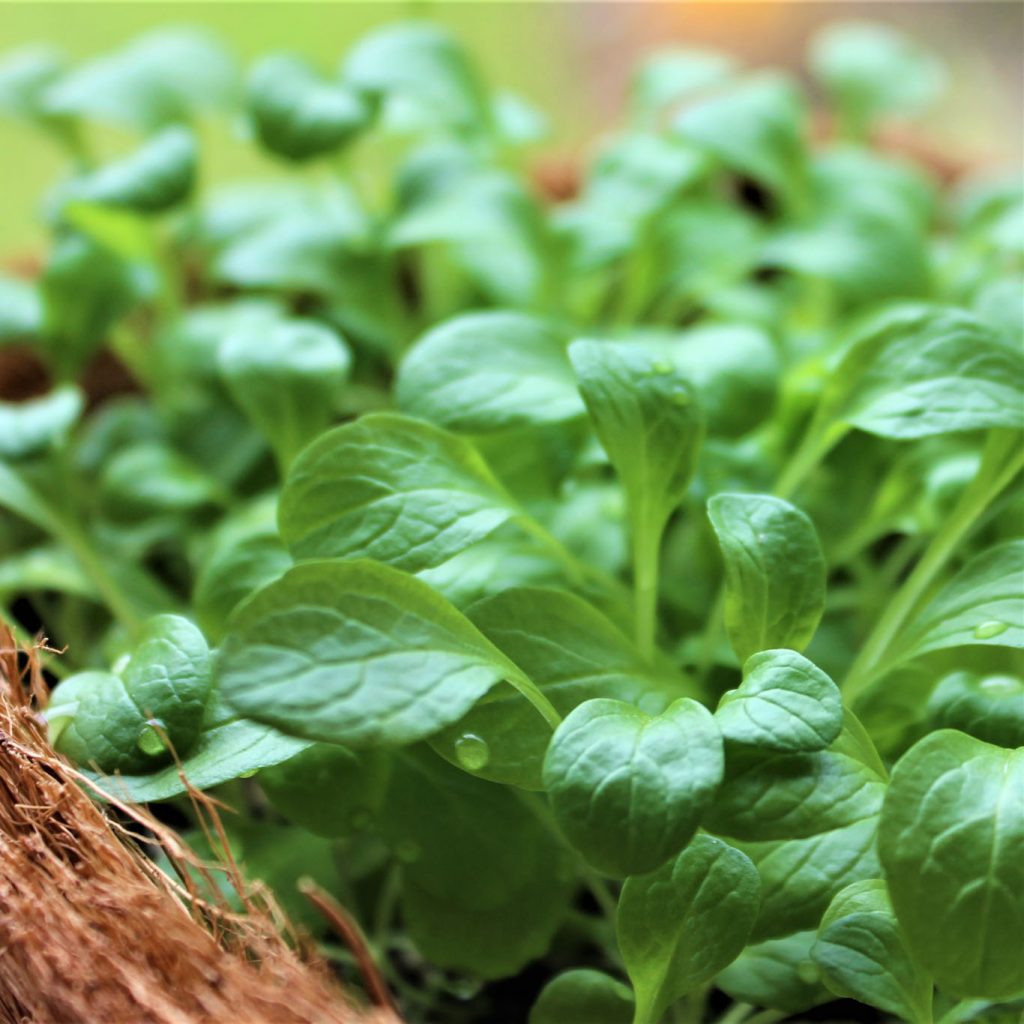
Micro-greens is a fancy word for any leaves harvested from the seedlings of leafy salad greens, like rocket and pak choi, or herbs, like basil and coriander. You’ll find plenty of choice in the Seed Pantry food seeds range or in your monthly Grow Club boxes that are suitable, brassicas, salads, sunflowers… the shoots of broad beans, peas, as well as root crops such as radish and carrot are also delicious!

You can grow all micro-greens in the same way, sown into a compost and placed in a sunny windowsill indoors – all year round! Grown in just about anything, from seed trays to old yoghurt pots, they’ll be ready to harvest in just 1-2 weeks. If you plant seeds every few days then you’ll have a supply of tender shoots right the way through winter, so take a leaf out of Seed Pantry’s book and add a bonanza of vitamins, antioxidants and minerals such as iron, folic acid and potassium to your meals!

Which seeds should I sow?

Radish: Quick and easy to grow, the pretty red stems of radish shoots will add colour to your salads as well as a peppery kick. Try them in egg sandwiches and stir fries.

Harvest: 7 days

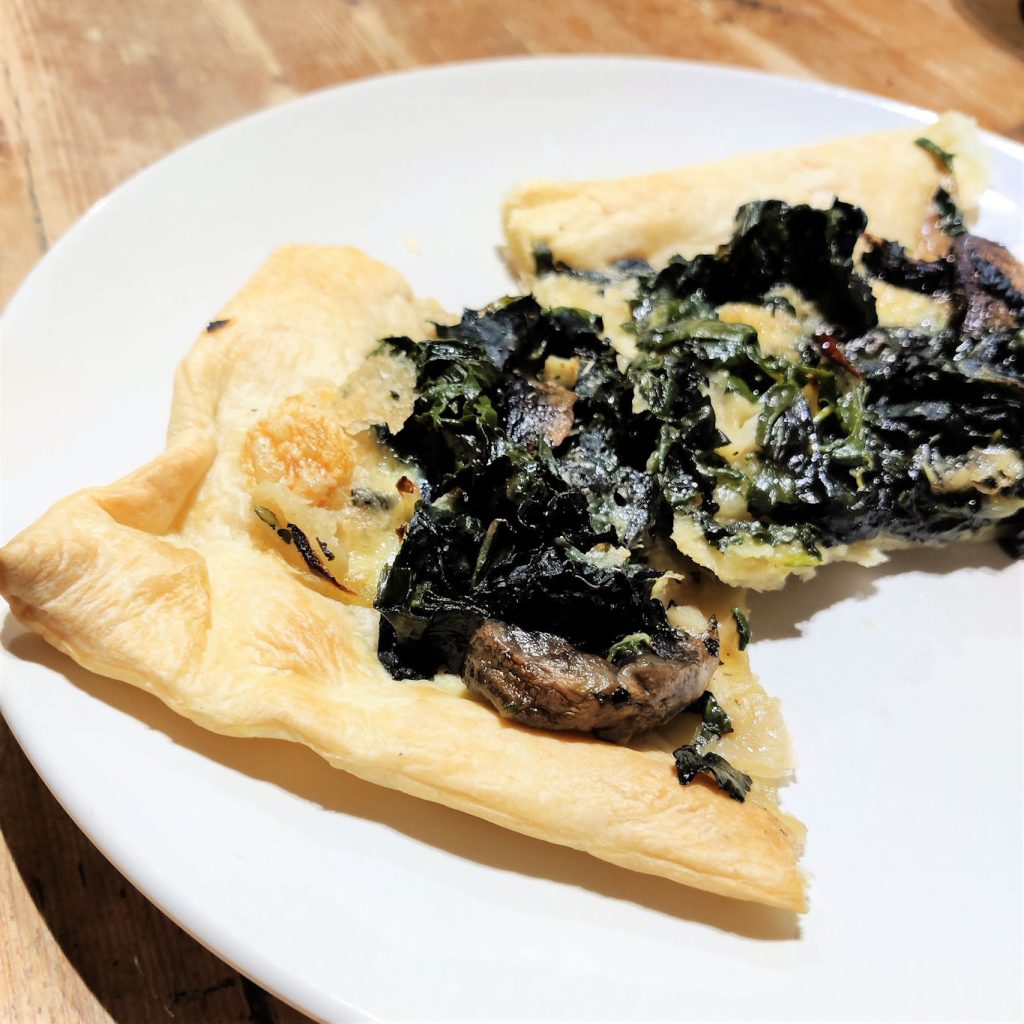
Spinach: These mild, nutrient packed leaves are ideal for salads, or stirred into a risotto. Tastes brilliant in an omelette with micro broccoli.

Harvest: 10 days

Beetroot: Their red-stemmed leaves add a splash of colour and a mild, earthy flavour to leafy salads. Delicious when sprinkled over grilled fish.

Harvest: 10 days

Mustards: Varieties such as mizuna, mibuna and mustard red frills all pack a spicy punch. The pretty, frilly or red-leaved varieties to add a sprinkling of interest to your stir-fry.

Harvest: 10 days

Basil: Much easier to grow than the adult plant, these highly flavoured micro-greens can be used in exactly the same way. Look out for purple varieties, such as the Seed Pantry Basil ‘rubin’ for extra colour.

Harvest: 10 days

Pea shoots: Tasting just like fresh peas, these sweet little tendrils are good in salads and stir fries, and they look lovely!

Harvest: 14 days

Sunflower shoots: With a slightly nutty taste and a pleasing crunch, sunflower shoots will make a great addition to almost any salad.

Harvest: 14 days

Coriander: A little slow to germinate, but these tiny flavour-packed leaves are well worth the rate. Fantastic as a garnish for curries, noodles and stir fries.

Harvest: 14 days

How to do it

  1. Cover the bottom of your container with an inch or two of compost, firming it lightly with your hand.
  2. Scatter a dense layer of seeds, evenly spaced, over the op of the soil; try to avoid clumps of seeds.
  3. Place your tray on a windowsill and keep them lightly watered using a mister or a fine watering can rose.
  4. Your greens should be ready to harvest in about a week, although it’ll be a little slower in the winter. To harvest, either snip them with a pair of scissors or pull them up from the base of the stem.

The Seed Pantry team 🌼

#SeedPantryGrowClub

WIN a lucky-dip addition to your next box by sharing your plant pictures with us on Instagram. Use the hashtag #SeedPantryGrowClub or tag us @seedpantry to enter.

Subscribe to the Grow Club box for flowers, food and herb seeds ready to sow each month… Curious? Come check out all of this month’s options!

Spinach and Onion Puff Pastry Tart Recipe

The Seed Pantry Spinach ‘Perpetual’ has certainly lived up to it’s name, but we’re not complaining! We’ve been devising new and delicious ways to use up our continuous supply of fresh leafy greens…including this spinach and onion puff pastry tart recipe!

Home » Food Gardens

Ingredients:

– 350-400g spinach
– 2 tbsp rapeseed or olive oil
– 1 onion, diced
– 1 garlic clove, chopped
– 1 tsp fresh thyme or parsley, chopped
– A packet of ready-rolled puff pastry
– 75g cheese (cheddar and feta work brilliantly)
– Freshly ground black pepper and a pinch of sea salt

How to do it

Preheat the oven to 180°C and grease a baking tray with a little of the oil.

– 350-400g Spinach

Tear out any tough stalks of Spinach and wash thoroughly. Place it into a saucepan with a tablespoon of water, cover and put over a medium heat to wilt the spinach for a few minutes. Drain and allow to cool.

When the Spinach has cooled enough to handle, squeeze as much liquid as possible out with your hands before chopping.

– 2 tbsp oil
– 1 onion, diced
– 1 garlic clove, chopped
– 1 tsp thyme, parsley, or both

Heat the oil in a frying pan over a medium heat. Add the onion and cook for 10 minutes, stirring often. Add the garlic and cook for a further 3-4 minutes before adding the fresh herbs and chopped spinach. Remove the pan from the heat and season with salt and pepper to taste.

– Ready-made puff pastry

Roll out the puff pastry on a floured surface into a rectangle shape, about 4mm thick, before lifting onto the baking tray. Spread the spinach mix over the pastry (leave a small margin along the edges). Scatter over the cheese and place in the oven for 20-25 minutes or until the pastry is puffed and golden. Delicious!

Variations

Spinach and Pesto Tart

Try spreading a layer of Pesto over the puff pastry before piling on your spinach mixture, top with parmesan cheese and halved cherry tomatoes before cooking for a Mediterranean take! If you’ve been growing Basil in your Seed Pantry Grow Pod, you might even make the pesto yourself with our simple recipe!

Spinach and Ricotta Rolls

For a creamy dinner time favourite, add 75g each of ricotta and feta cheese to your spinach and onion mixture. Spread over the pastry, leaving a 2cm margin along one of the long edges and roll into a long sausage shape. Cut the roll into 4 equal pieces and pop into the oven for 20-25 minutes, or until golden.

Enjoy!

The Seed Pantry team 🌼

BUY your own Seed Pantry Grow Pod 2 here…

#SeedPantryGrowClub

WIN a lucky-dip addition to your next box by sharing your plant pictures with us on Instagram. Use the hashtag #SeedPantryGrowClub or tag us @seedpantry to enter.

Subscribe to the Grow Club box for flowers, food and herb seeds ready to sow each month… Curious? Come check out all of this month’s options!

Grow Pod Basil Pesto Recipe

So you’ve successfully grown basil in your Grow Pod 2… what better way to use it than making your own pesto? No fancy expensive ingredients needed; Here is our variation on the classic pesto recipe.

Home » Food Gardens

Don’t feel confined to pesto pasta! This versatile basil pesto recipe is great for sandwiches, added to salads, alongside plain-cooked fish, smeared over roasted vegetables, dolloped and stirred into soup or as a simple dip with crudités. You can use other herbs in pesto too, mint works brilliantly, as do stronger herbs such as sage or thyme, although these are best combined with parsley so they don’t overpower the more subtle flavours in the sauce. If you fancy giving other herbs a go, check out our Top 10 best herbs to start growing.

Ingredients:

– 50g breadcrumbs
– 50g basil, leaves only (or 25g each Basil and Parsley)
– 35g strong cheddar, grated
– ½ garlic clove, peeled and chopped
– 100-150ml rapeseed or olive oil
– A good pinch of sea salt and black pepper

How to do it

  1. Preheat the oven to 180°C/Gas Mark 4. Scatter the breadcrumbs on a baking tray and bake for about 10 minutes until dry and golden, checking them frequently towards the end as they burn quite quickly. Tip on to a plate and allow to cool.
  2. Place the toasted breadcrumbs into a food processor, along with the basil, parsley, garlic and cheese and blitz to a paste.
  3. With the machine running on low speed, slowly pour in the oil until you have a thick purée.
  4. Scrape your pesto into a bowl, and season to taste with a little salt and pepper.

Variations

Try replacing the breadcrumbs with toasted pine nuts or walnuts. Walnuts can be lightly toasted in an oven preheated to 180°C/Gas mark 4 for 5-8 minutes. For the pine nuts, place them in a dry frying pan and toast over a medium heat for a few minutes, tossing frequently. One they’ve turned golden brown, remove them from the pan to stop them from burning and leave to cool.

The Seed Pantry team 🌼

BUY your own Seed Pantry Grow Pod 2 here…

#SeedPantryGrowClub

WIN a lucky-dip addition to your next box by sharing your plant pictures with us on Instagram. Use the hashtag #SeedPantryGrowClub or tag us @seedpantry to enter.

Subscribe to the Grow Club box for flowers, food and herb seeds ready to sow each month… Curious? Come check out all of this month’s options!

Square Foot Gardening

My problem in life is that I just don’t know when to stop – this applies to spending, talking, eating, and….sowing seeds.  Once I have that seed packet in my hand, I just want to sow them all.  Immediately.  And, whilst it’s satisfying at that moment, it’s not so good a few weeks or months down the line when we’re trying to think of new ways of cooking, eating or knitting kale.

Exhibit 1: Example of my oversowing – how long would it take people to eat these onions?

During some aimless internet surfing, I came across the square foot gardening (SFG) method and thought that this might be just the thing to curb my profligate ways with seeds. 

The basics of SFG were stated as follows:

– Raised beds - that don’t require cultivating and which you do not have to walk on as you can reach every part of the bed from outside the bed;

– Addition of a special mix of compost/vermiculite/peat;

– Division of beds into square feet - clearly marked with string or something more permanent so that the divisions are visible as crops grow;

– Intensive planting of different crops within each square foot;

– Successional sowing - so no gluts and a continuous crop throughout the growing season.


So, for each square foot you sow a specific number of seeds depending on the crop so that you don’t waste seeds and also you don’t have to thin out plants that are overcrowded.  Common spacing is:

– 1 plant/square for larger plants like cabbage or broccoli

– 4 plants/square for medium plants like lettuce

– 9 plants/square for medium-small plants like spinach

– 16 plants/square for small plants like carrots and spring onions.

Anything that takes up lots of space through their habit such as runners or courgettes are grown vertically on frames or supports.

So far, so good.

Of course, I didn’t decide to follow it precisely – who doesn’t read the instructions for something and think “ooh, I don’t think that applies to me?” or “I can’t really be bothered with that it so I’ll adapt it for my own lazy ways…….”  I did use raised beds and I did divide up into the square feet but I decided to cultivate the soil that was in there and add some soil improver in the autumn to help with my clay soil structure and also to add some nutrients (I didn’t need peat – stay peat free!).


   2Dividing into square feet & putting up protection.


 1. Cultivating Soil

Next..deciding what to grow?

I mainly went with salads and lots of carrots which I love but also grew some kohl rabi because it looked cool in a picture I had seen!  I then went into overdrive with a crazy spreadsheet that had 32 columns and nearly 300 rows (representing each day) – OMG I was trying to plan to the nth degree – what to sow, how long it would be in the ground when it would be out and so then when I could sow the next lot.  

Duh!  I now realise that all I really needed to do was sow everything once in their respective squares and then wait for it to germinate.  Once a particular crop in a square had come up then to do a second sowing in any free square I had and continue doing this until the seed packets said that it was too late to sow or I ran out of squares.  Some crops like kohl rabi I didn’t need so much of so I sowed less often.


3.  Very neat and tidy at the start           4.  Now, growing well..slightly crowded


Some observations..

– Crops like radish mature very quickly so their square comes free within the season to be sowed again with something else.

– Some crops like carrots were tall and shaded other plants/flopped into other squares – next time I’ll make sure I sow these crops on the North of the bed so they don’t shade the other veg and will also put up some Heath Robinson affair to stop them flopping into the other squares.

– It takes quite a lot of discipline to do this as you have to be sowing quite often – I have to admit that I wasn’t as attentive as I could have been *hangs head in shame*.

– The main pests in my urban garden are foxes, squirrels and cats so with the raised beds, it was easy to put up some protective netting and whilst they aren’t cheap they are very strong and I can see them lasting for ever.

– I haven’t had gluts which has been brilliant – no new knitting patterns for kale required!

Overall I think this is a great way to grow veg in a confined space and with a bit more discipline I think it will be even more successful next year.


This post written by the Seed Pantry guest: Nell Jones.

Nell recently studied Horticulture as a career change from 20 years in recruitment and now works at the wonderful Chelsea Physic Garden. 

You can read Nell’s own blog here: http://capabilityjonesblogs.blogspot.com/